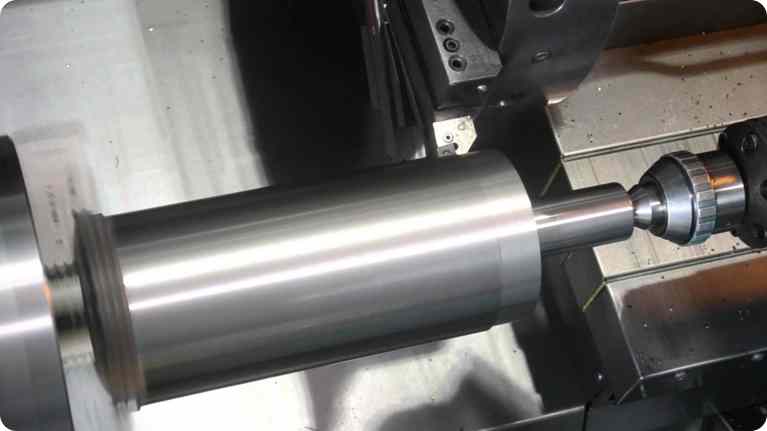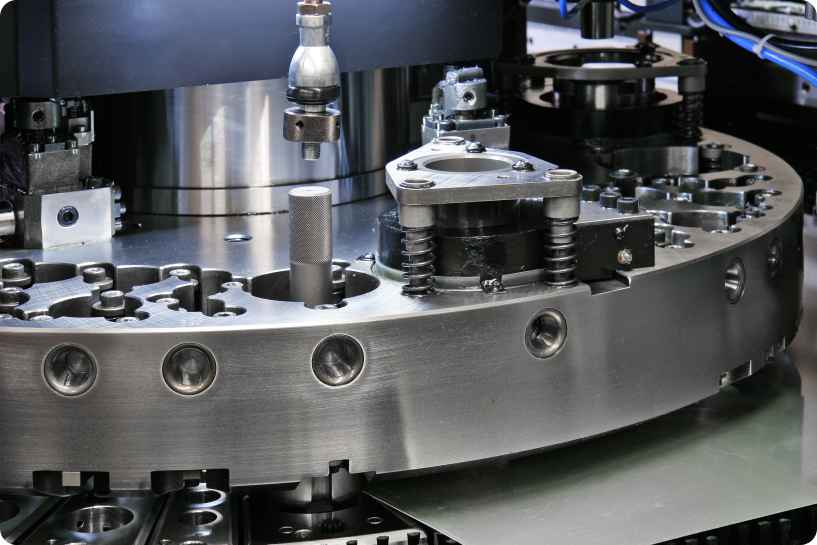
At some point in every design, it is essential for the eye to see and to comprehend the actual size of an object. For example, it is possible to represent, on a 12-in. CRT, the scale representation of a 10 ft mold. This means that a plate of 12-in. thickness will appear on the CRT approximately 3/4 in. in dimension. Try looking at a picture drawn at 3/4 in. and then try to convince your mind it is actually 12 in. We do not wish to belabor this point except to recite an engineer’s observation: That injection machine (manufacturer nameless) was the most overdesigned machine he had ever seen. No one had bothered to lay out on a piece of paper the actual thickness of the platens. They were almost twice as thick as they needed to be.By the same token, a .005 in. section can be “zoomed,’ to fill the 12-in. CRT. The deception to the eye and mind is still there, but in the opposite manner.
At the present time, the technology for modeling nongeometrical (meaning irregular) three-dimensional shapes has not reached the point where all such shapes can be accurately described. Those areas on a model which are now blended by the skilled pattern or moldmaker present the greatest challenge to manufacturers of CAD/CAM systems. To overcome this limitation, some CAD/CAM manufacturers offer a digitizing option to generate the data required to establish a tool path for the NC machine. This digitizing option requires “scanning”a model with a stylus similar to that used on the automatic duplicator. The stylus movement is then translated to “digital code” which the NC machine understands and can translate into movement of a cutter or movement of a table, or both simultaneously.
If the makers of NC equipment have their way, all hand duplicators or automatic duplicators will become obsolete. It is true that usage of the less sophisticated machinery will decline in the future. However, bear in mind the areas of the world in which the “industrial revolution” is still to come. The authors believe that this text can educate our successors, even while we address our contemporaries.

With the completion of the mold cavities, they are fully machined on those surfaces which must mate with inserted parts and are sized to fit the Particular machine for which the mold is intended. The mold halves (for a two-part mold) then have dowel pins and bushings added to assure proper alignment of the cavity.
Simultaneously with the machining of the cavity halves, inserts to form the neck and base ends of the cavity are being completed. Inserts serve two purposes. First, they include areas that are likely to wear and can therefore be replaced without reworking or scrapping the entire mold. Second, this provides an opening to the cavity that permits the mold maker to match up accurately the cavity halves at the parting line.
Before assembly of inserts, cooling lines are added to the mold. The use of drilled lines and milled channels is usually employed to carry the coolant. It is desirable to maintain a large area through which the coolant flows and at the same time keep the cross section of the cooling stream at a minimum. The latter requirement keeps the amount of cooling medium to a minimum and assures a rapid change of coolant over the surfaces that are to be cooled. The consistency of cross-sectional area through which the coolant flows is also important. With an increase in the area the coolant velocity decreases, developing a hot spot in the mold because the heat is not being conducted away as rapidly as from other areas in the mold.
Drilled lines are usually added to all inserts making up the mold assembly. All parts of the mold are normally cooled independently to afford the blow molder greater flexibility to his molding cycle through varying coolant temperatures.

With the assembly of inserts and matching of halves mentioned above, relief is milled in the mating mold faces to permit displacement of the excess plastics material. The depth of the relief is critical and dependent on the weight of the article molded. If the relief is too shallow, the mold will not close completely and poor seam lines will appear on the molded article. If the relief is too deep the cold mold will not be in intimate contact with the excess plastics material and remove its heat. When this happens the article is removed from the mold, retaining hot pieces of attached excess material. These, in turn, can adhere to and spoil other articles.
Because it is so difficult to accurately determine the depth of pinch relief prior to molding, the use of a blown pinch has been employed. By cutting the relief relatively deep the excess plastic can be blown by either bleeding off some of the major blowing air or providing a separate air source. The heat in the excess material is now rapidly removed by touching the cold mold face on the outside and by the cooling air on the inside. The final operations in making a blow mold consist of attaching back-plates, water testing all cooling systems for leakage, and blasting the cavity surface with an appropriate abrasive material. The mold cavity is usually given a rough finish except for those items requiring a high surface gloss. This rough surface vents the air trapped between the plastics and the cavity surface during the blowing cycle. Without this rough mold surface or other venting means, the resultant surface on the blow article would be rough and pock marked from air entrapments.
Nearly all molds in use today consist of two halves matching on a single flat surface. There are, however, molds having irregular parting lines and 伊 more than two movable pieces. This type of mold becomes necessary when the part to be molded has reentrant surfaces. While multiple-action molds increase the design possibilities of blown articles, the cost of tooling can be considerably higher. Only the economics of a specific job can dictate the type of tooling.

